
Shopping Cart
Technical note for the Dudek Warp 3
Categories :
The MosAiles Shop
Dudek has received reports indicating that the central main A lines on certain Warp 3 wings stretch after approximately 50 hours of intensive use. Since the C lines may also shrink, the resulting change in wing trim can affect the performance and expected behavior of the wing.
Unsheathed lines on high-performance paragliders require more attention than those on standard models. Therefore, Dudek recommends more frequent line inspections for the Warp 3 and prompt intervention for wings showing a loss of performance.
Solution for checking wing trim:
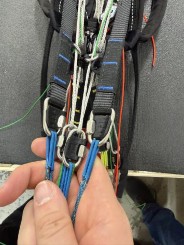
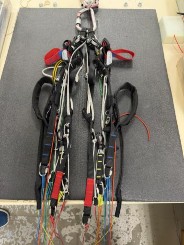
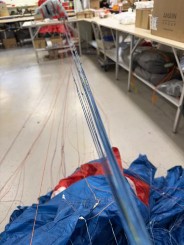
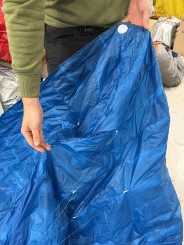
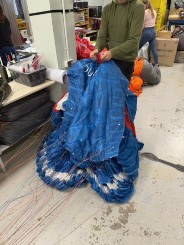
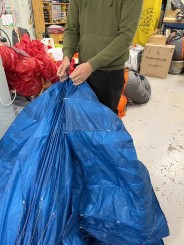
- Secure the risers to a stable point or ask another person to hold them.
- Select the main lines of rows C and C' (CP1, CP2, CP3).
- Approach the canopy.
- Starting from the center, grasp the first corresponding pair of lines from row C (left and right sides).
- Pull the lines symmetrically with a force of approximately 15 to 20 kg.
- Repeat the operation for all lines in row C, then do the same for row D. Lines c1 to c18 and d1 to d8 must be symmetrically taut on both sides.
Instructions for adjusting the A lines:
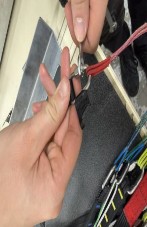
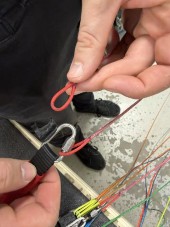
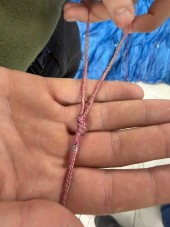
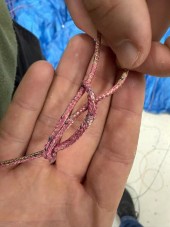
- Open the maillon.
- Carefully remove the line, taking care not to mix it with other lines.
- Loosen the first connection of the main line.
- Form the loop as shown in the video: a Upper_Loop_Warp3.mov
- If necessary, add another loop as shown in the video: b Lower_Loop_Warp3.mov
- Ensure the loops are straight, without twists, and properly tightened.
Important!
Ensure the loops are straight, without twists, and properly tightened.
After completing all procedures, visually inspect the wing on the ground before the first flight.
If you are unsure, it is best to entrust the wing to a professional.
These instructions primarily apply to Warp 3 wings with serial numbers ranging from P-xxxxx1 to P-xxxxx2.
Share this content